Renovating a basement can seem daunting, especially if you are unsure where to begin. Basements are often overlooked, but with the right approach, they can be transformed into valuable, functional spaces for your home. Whether you are planning to create a cozy family room, a productive home office, or even an income-generating rental unit, understanding the correct sequence of steps is crucial. Jumping into a renovation without a clear plan can lead to unnecessary delays, unexpected expenses, and headaches.
This guide is designed to simplify the process, showing you step-by-step instructions on how to renovate a basement. From addressing foundational repairs to choosing the perfect finishes, we will help you tackle the project confidently. By the end, you will know where to start and how to navigate each stage like a pro. Ready to unlock your basement’s potential? Let’s dive in and bring your vision to life!
Step 1: Assess the Basement’s Current Condition
Evaluating the current state of the basement is essential before starting a basement renovation. This step identifies potential problems that could derail your project if overlooked. By addressing foundational issues upfront, you will create a safe and stable base for your dream space while preventing costly repairs down the line.
Evaluate Moisture and Foundation Issues
Basements are notorious for moisture problems that can lead to mold, mildew, and structural damage. Begin by inspecting walls and floors for damp spots, cracks, or leaks. Test for excessive humidity and ensure the foundation is sound. Addressing drainage issues, sealing cracks, or installing a sump pump might be necessary to create a dry, stable environment.
Check Structural Stability
Structural integrity is critical for any renovation. Look for signs of sagging beams, uneven flooring, or bowing walls, which may indicate underlying support issues. Consult a professional to assess load-bearing walls and overall stability. Resolving these concerns early ensures your basement is safe and can support the planned upgrades without complications.
Step 2. Plan the Renovation
A well-thought-out plan is the backbone of any successful basement renovation. Defining your goals, establishing a budget, and ensuring compliance with local regulations will streamline the process. Planning upfront prevents costly surprises and ensures your project stays on track from start to finish.
Define Goals and Layout
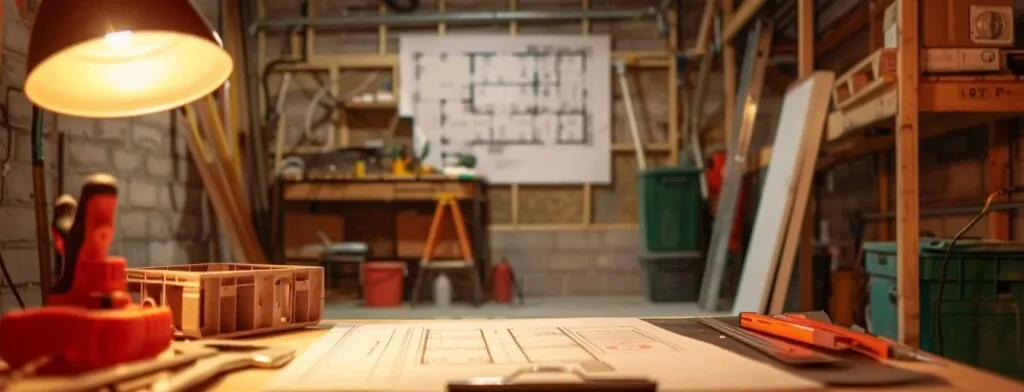
Begin by determining how you want to use the space. Will it be a family room, guest suite, or home office? Sketch a layout that optimizes the available area, accounting for utilities, lighting, and ventilation. Clearly defined goals and a practical design create a roadmap for a functional and aesthetically pleasing basement.
Set a Budget
Establishing a budget is critical for managing costs effectively. Consider expenses for materials, labor, and unexpected repairs. Break down costs into categories such as flooring, plumbing, and furnishings. Include a contingency fund for unforeseen issues. A realistic budget helps prioritize needs while avoiding financial strain during renovation.
Obtain Permits
Most basement renovations require permits to ensure the work complies with building codes. Check local regulations to determine the permits you need for structural changes, electrical wiring, or plumbing. Acquiring permits early avoids legal complications and guarantees that the renovation meets safety standards.
Step 3: Prepare the Space
Proper preparation is key to a smooth and efficient basement renovation. Clearing, cleaning, and addressing existing issues ensure the space is ready for transformation. Tackling these steps upfront sets the stage for a safe and successful project, saving you time and avoiding complications down the road.
Clear and Clean the Area
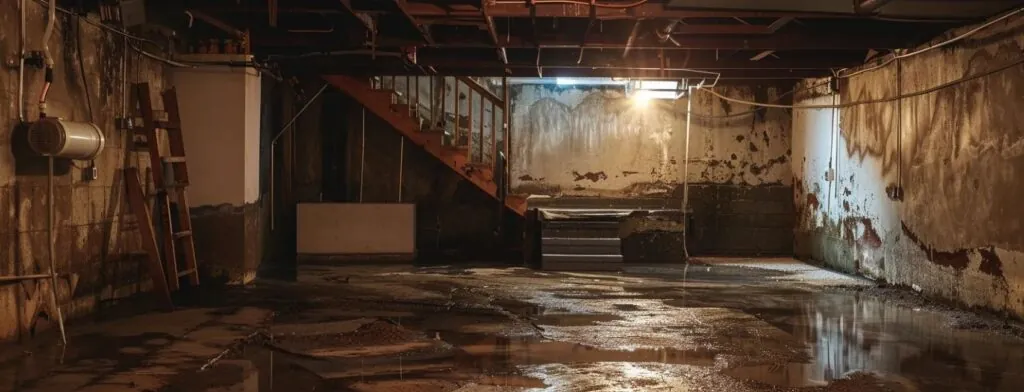
Start by removing any stored items, furniture, or debris to create a blank slate. Thoroughly clean the space to reveal hidden issues such as cracks or water damage. Dusting, vacuuming, and scrubbing walls and floors can help identify problem areas that need attention before the renovation begins.
Address Existing Problems
Inspect the basement for pre-existing issues like leaks, mold, or pest infestations. Repairing these problems early prevents them from worsening during the renovation. For leaks, seal cracks and ensure proper drainage. For mold, hire a professional if needed. Resolving these issues provides a healthy and safe environment for your project.
Test for Hazardous Materials
Older homes may contain hazardous materials like asbestos or lead paint. Testing for these substances is critical to ensure the safety of everyone involved in the renovation. If found, hire certified professionals to remove it. Proper testing and remediation protect your health and ensure the project complies with safety regulations.
Step 4: Begin Construction
With preparation complete, the construction phase of your basement renovation begins. This stage involves building the foundational elements that shape your space. From insulation to wall framing and utility installations, careful execution ensures the basement is comfortable, functional, and meets modern living standards.
Insulate the Basement
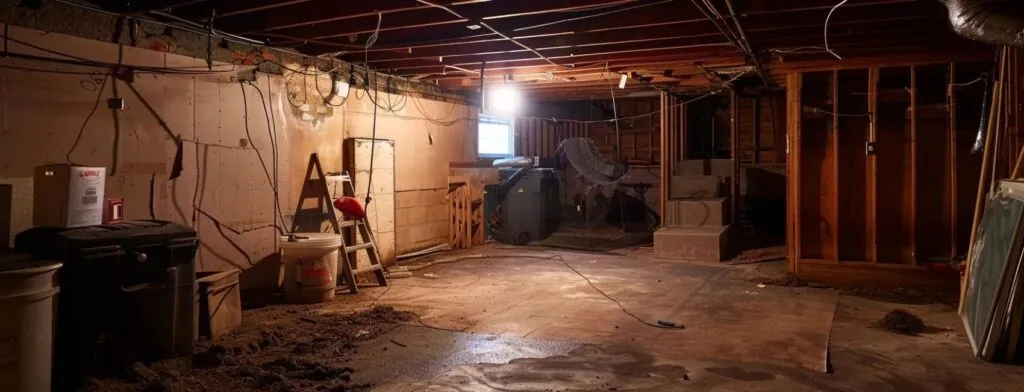
Proper insulation is essential for a comfortable and energy-efficient basement. Choose moisture-resistant insulation materials to prevent mold and dampness. Focus on insulating exterior walls and floors to regulate temperature and reduce noise. This step enhances comfort and lowers energy bills, making your basement a more inviting space.
Frame the Walls
Wall framing creates the framework for your basement’s layout and supports drywall installation. Use treated lumber to resist moisture and ensure durability. Include openings for doors, windows, and utilities in your design. Precise measurements and alignment are critical for seamless construction and a professional finish during later stages.
Install Electrical and Plumbing Systems
Utility installations must comply with building codes for safety and efficiency. Electricians and plumbers should handle wiring, outlets, light fixtures, and plumbing connections. Based on your layout, ensure proper placement of electrical panels, pipes, and drains. Completing this step professionally prevents future issues and lays the groundwork for smooth progress.
Step 5: Add Key Finishing Touches
In the finishing stage, your basement comes to life, turning a functional framework into a beautiful, livable space. From flooring and ceilings to painting and installing fixtures, these final steps add personality and polish, ensuring your basement meets your aesthetic and practical goals.
Install Flooring and Ceiling
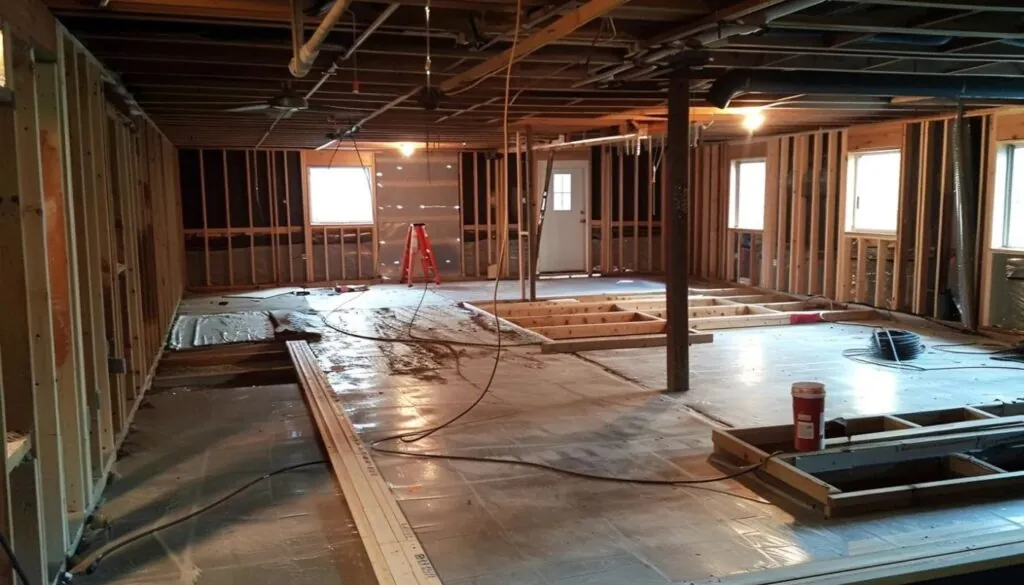
Choose durable, moisture-resistant flooring materials like vinyl, laminate, or tile to withstand the basement’s conditions. Options like drywall or drop ceilings offer flexibility and a clean finish for ceilings. Ensure flooring and ceilings complement the room’s design while considering maintenance and longevity for a functional yet stylish outcome.
Related Post: Builder vs Contractor: Their Roles and Responsibilities
Add Drywall and Paint
Installing drywall smooths out walls and creates a clean canvas for your design. Once secured and finished, apply paint that suits your style and the room’s purpose. Use lighter colors to brighten the space or bold hues for a cozy feel. This step personalizes your basement while enhancing its appeal.
Include Fixtures and Appliances
Complete the renovation by installing the necessary fixtures and appliances. Add lighting, cabinetry, and hardware for functionality and style. Place appliances like mini-fridges or laundry machines where needed. Ensure all installations are safe and align with your layout, making your basement ready for use and enjoyment.
Step 6: Final Inspection and Decor
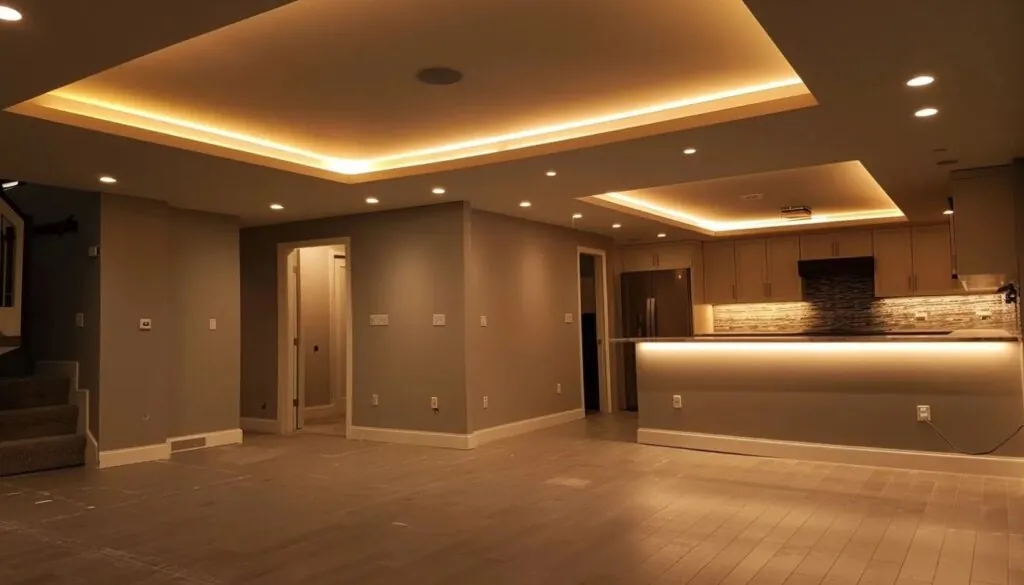
The final phase of your basement renovation ensures everything meets standards and reflects your vision. A thorough inspection confirms safety, functionality, and quality while adding décor personalizes the space. These steps complete the transformation, making your basement a functional and inviting area for your needs.
Conduct a Final Inspection
Before declaring that the project is complete, perform a detailed inspection. Ensure all electrical and plumbing systems function correctly and adhere to codes. Verify the stability of fixtures, the smoothness of finishes, and the quality of workmanship. Address any issues promptly to ensure the space is safe, durable, and ready for use.
Conclusion
Renovating a basement can transform an underutilized space into a functional and stylish area, but proper planning is essential. This guide outlines the key steps to ensure a smooth renovation process, from assessing the basement’s current condition to adding the finishing touches.
Start by addressing foundational and structural issues to create a stable environment. Develop a clear plan, including a layout, budget, and permits, before preparing the space by clearing and cleaning. Construction focuses on insulation, framing, and utility installations while finishing touches like flooring, paint, and fixtures bring the vision to life. A final inspection ensures safety and quality.
Top FAQs for Basement Renovation
What is the first step in renovating a basement?
The first step is to assess the basement’s current condition, including moisture, structural issues, and hazardous materials. Address these before moving forward.
Do I need permits for a basement renovation?
Yes, most basement renovations require permits for structural changes, electrical wiring, and plumbing to ensure compliance with local building codes.
What materials are best for basement insulation?
Moisture-resistant insulation like spray foam or rigid foam boards is ideal for basements to prevent mold and dampness.
How do I prevent moisture problems in my basement?
Address leaks, seal cracks, install a sump pump if needed, and ensure proper drainage to keep your basement dry and stable.
What is the typical order of construction during a basement renovation?
The usual order is: insulation, wall framing, utility installations (electrical and plumbing), drywall, flooring, and finally, painting and adding fixtures.


